Elevate Your Terminal Experience: Making It Cooler with Transparency

Photo by Joan Gamell on Unsplash
Have you ever wanted to make your Windows Terminal more visually appealing? Well, you're in luck! Adding transparency to your terminal makes it look cooler and adds a touch of personalization. Here's a simple guide to elevate your terminal experience.
How to Make Your Terminal Transparent:
Prerequisites:
Windows operating system
Windows Terminal installed
Let's Get Started:
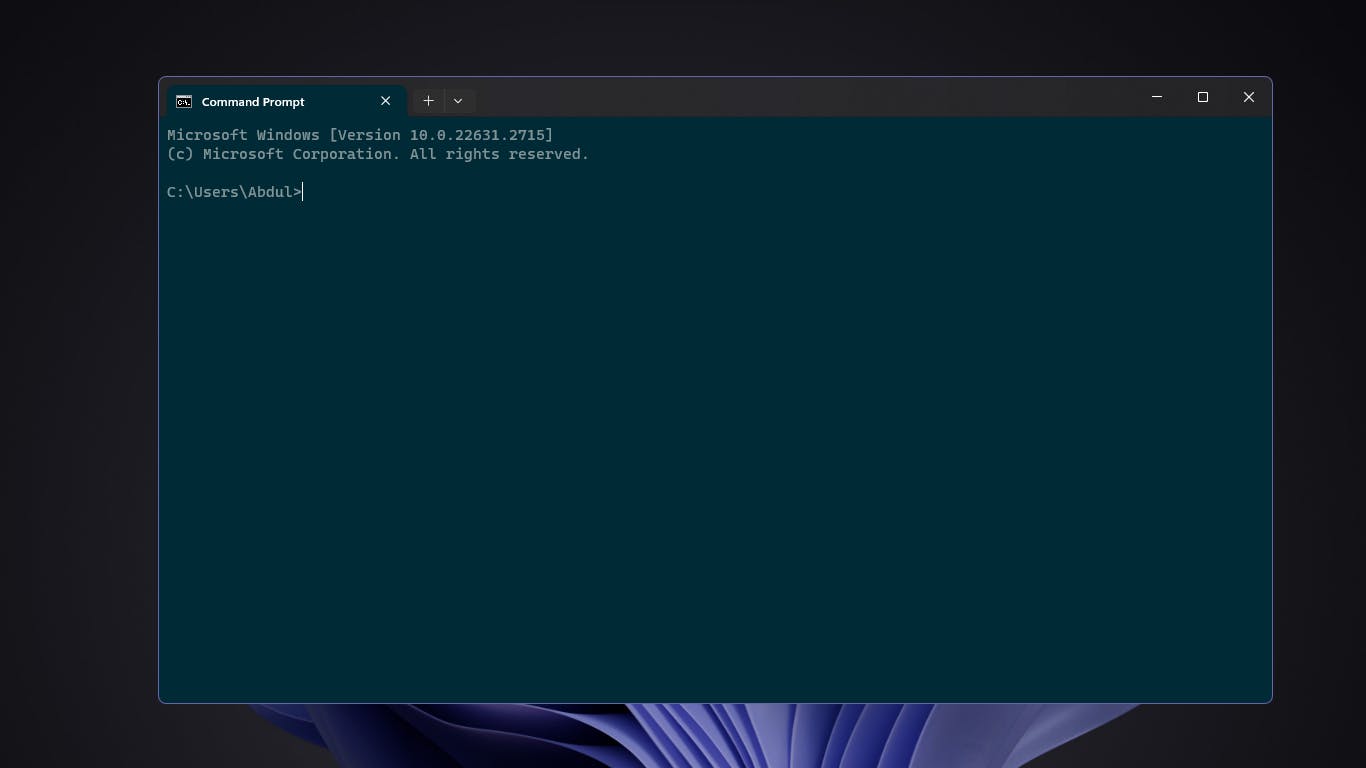
Open the Terminal settings by pressing CTRL +, or navigate to the settings through the menu.
Open the
Settings.jsonfile. You can do this directly from the settings if you have Visual Studio Code (VSCode) or any code text editor installed. Alternatively, you can locate and open the file manually.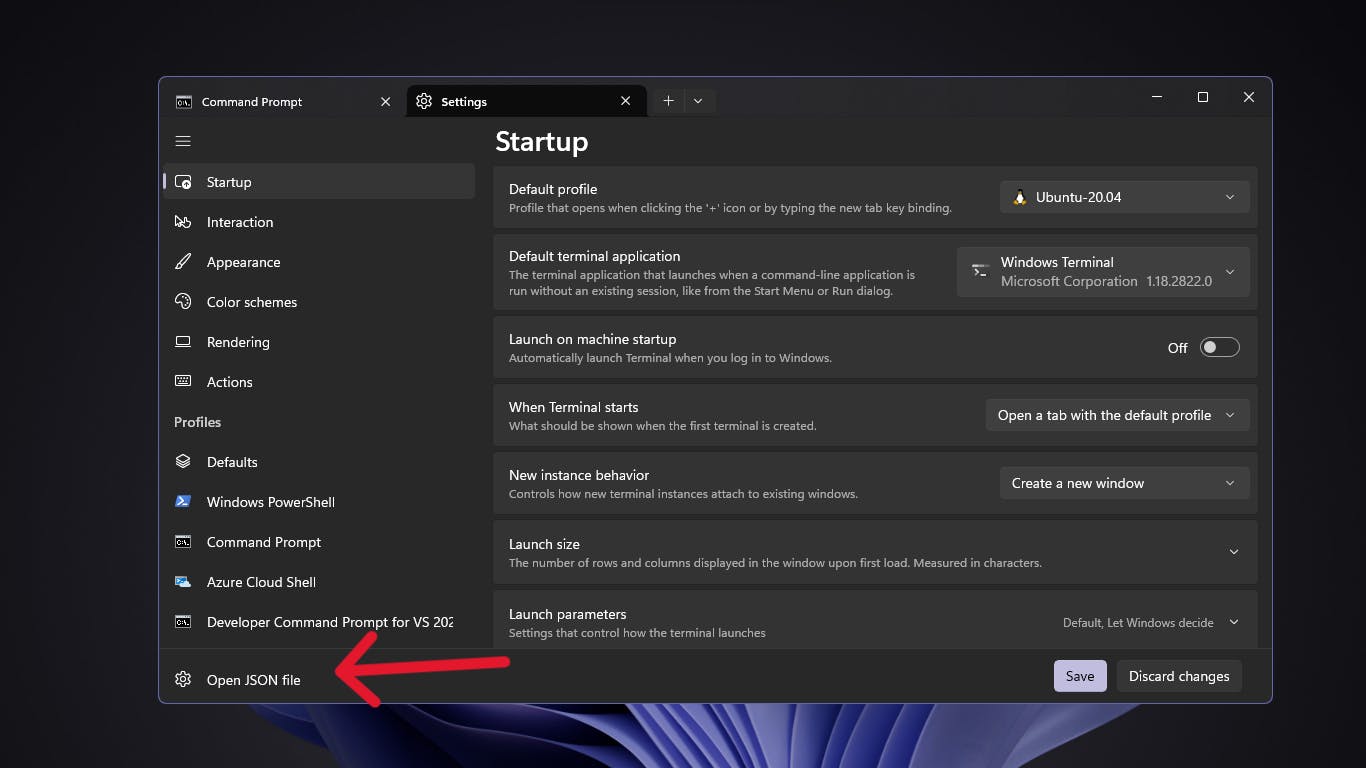
In the
Settings.jsonfile, search for thedefaultssection.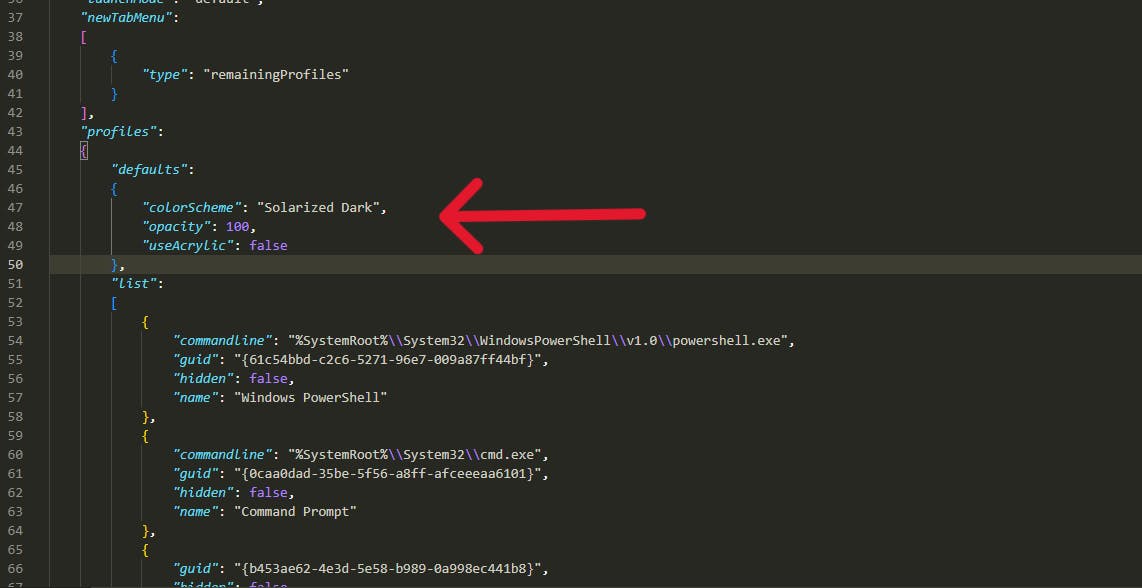
Look for the
opacityproperty. To enable transparency, change theopacityvalue to your desired level. Save the file, and the changes should reflect immediately.0: Transparent
100: Opaque
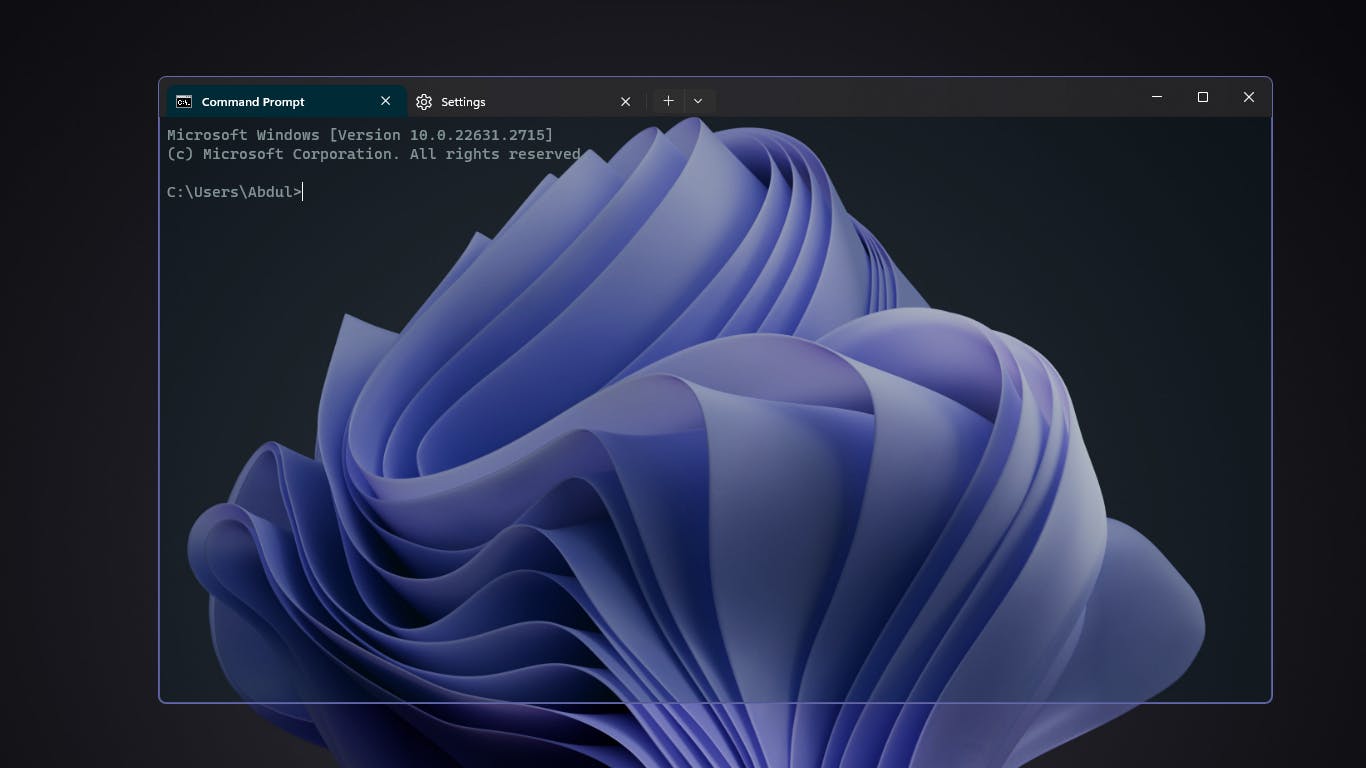
If you're using Windows 11, you can take it a step further. Look for the
useAcrylicproperty in thedefaultssection. Enabling this property adds a blur effect to your terminal background. Note that this effect works only when the terminal window is in focus.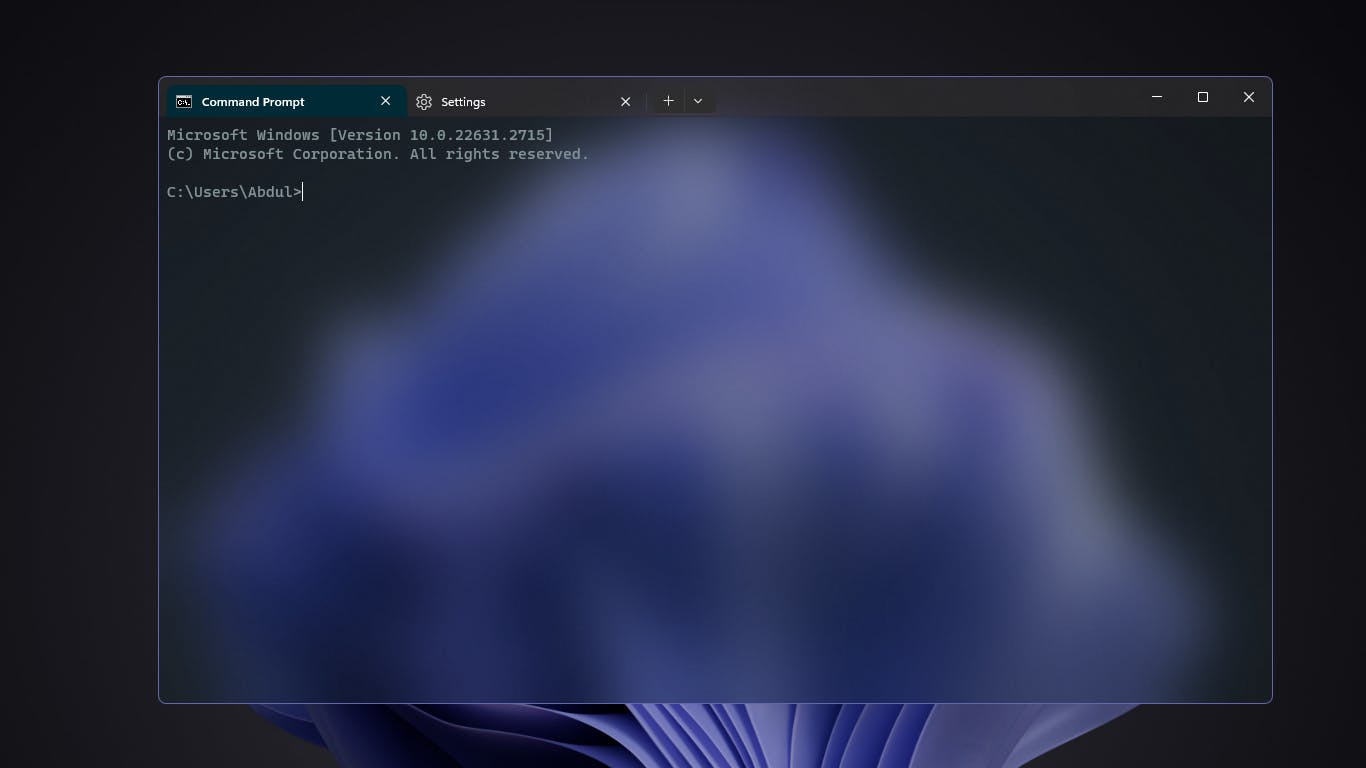
Resources:
For a more detailed guide and additional tips, check out this resource.
Now, you've turned your terminal into a sleek and transparent workspace. Enjoy your cooler terminal experience! 🚀
